Getting started with sensenet and a server-side Asp.Net MVC client
In this tutorial we will build a basic Asp.Net MVC application. This is a server-side application that sends server-to-server requests to the sensenet repository from the backend. It will be capable of loading and displaying content items in a regular MVC controller and view environment.
We use MVC views in this tutorial, but the technology works the same way in Razor pages.
The application uses the sensenet .Net client library to connect to the repository. You can use all the APIs offered by that library to manage content items.
You'll find a full source code for this sample application on GitHub.
Create a new Asp.Net Core Web Application
Create a new Asp.Net Core Web Application (with MVC) either in command line (dotnet new), Visual Studio or VS Code.
Install the following NuGet package:
Register services
Please register the following services in the Program.cs file:
builder.Services.AddSenseNetClient().ConfigureSenseNetRepository(repositoryOptions =>{// Load configuration from a path of your choice.// This configuration should contain at least the repository url// and optionally authentication values.builder.Configuration.GetSection("sensenet:repository").Bind(repositoryOptions);});
Authentication
Configuring authentication values works the same way as in a console application. Please visit this article for details.
New model class
Create a new model class named SnContent in the Models folder.
public class SnContent{public Content Content { get; set; }public IEnumerable<Content> Children { get; set; }}
New controller
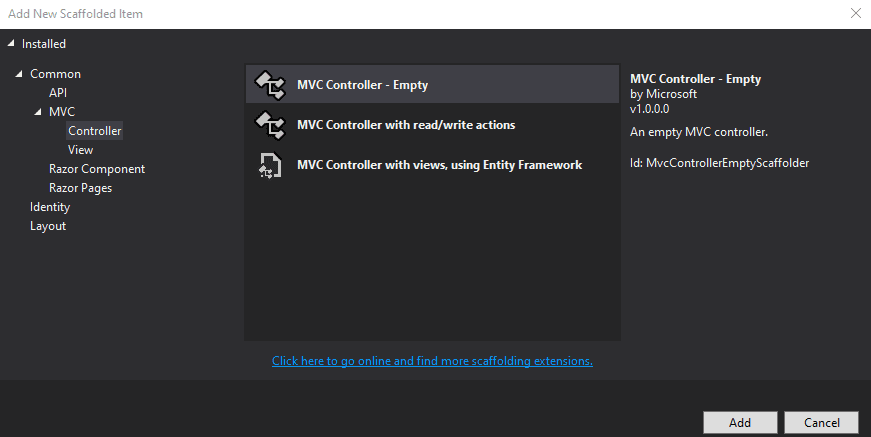
Create a new controller named ContentController. This is where most of the logic will go.
Inject the necessary dependencies
Add a constructor that expects an IRepositoryCollection service. This will let you load a repository instance to connect to sensenet.
private readonly IRepositoryCollection _repositoryCollection;public ContentController(IRepositoryCollection repositoryCollection){_repositoryCollection = repositoryCollection;}
Add an action with business logic
This is the default and only action in this controller. It gets the content defined by the id parameter (or the default workspace root) and loads its children for the view to display (we will create the view in the next section).
public async Task<IActionResult> Index(int id = 0){Content content;var repository = await _repositoryCollection.GetRepositoryAsync(HttpContext.RequestAborted);if (id == 0){// display the rootcontent = await repository.LoadContentAsync("/Root/Content", HttpContext.RequestAborted);}else{// load the current contentcontent = await repository.LoadContentAsync(id, HttpContext.RequestAborted);}var children = await repository.LoadCollectionAsync(new LoadCollectionRequest{Path = content.Path}, HttpContext.RequestAborted);return View(new SnContent{Content = content,Children = children});}
New view
Create a new empty view in the Views/Content folder named Index. This will be the default view for the Content controller. It lists the child elements of a container and also displays a link to the parent.
@{ViewData["Title"] = "Content browser";}@using SenseNet.Client@model SnContent<h1>Content browser</h1><h3>@Model.Content.Name</h3><p><div>[<a asp-controller="Content" asp-route-id="@Model.Content["ParentId"]">...</a>]</div>@foreach (var content in Model.Children){<div><a asp-controller="Content" asp-route-id="@content.Id">@content.Name</a></div>}</p>
New menu item in the header
Add a link to the header (the shared _Layout.cshtml view):
<li class="nav-item"><a class="nav-link text-dark" asp-area="" asp-controller="Content" asp-action="Index">Content</a></li>
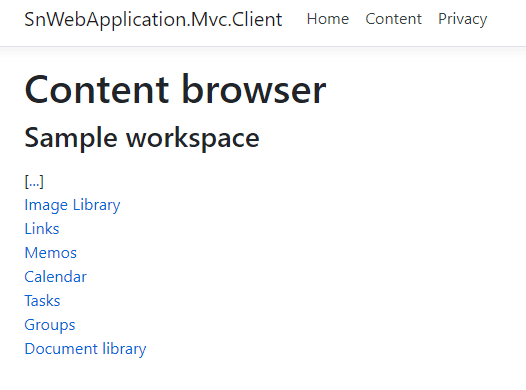
You will see a Content menu item in the header when you start the application. Clicking on it will display a list of content items as links that you can use to navigate up and down in the content tree.
To actually see content items listed, you'll have to create a few contents under the /Root/Content workspace in the repository as that is the root of the sample above.


