Getting started with React and sensenet
In this tutorial, you will discover how to start a new project using React and sensenet.
Create react app
First of all you need a React environment what you can create easily with create-react-app.
Download it and run the following command to create a project with the name example:
yarn create react-app example
After creating the environment you can start the app from the root of the project:
cd exampleyarn start
If you open localhost:3000 in your browser, you should see your new application's greeting page.
To install sensenet core package use the following command:
yarn add @sensenet/client-core
You should add new dependencies for repository management with:
yarn add @sensenet/hooks-react
After that you have to create a configuration.js file in your project's src folder. This file will contain for example the address of your sensenet repository.
export const repositoryUrl = <your sensenet repository>
You should also create an app-provider.js file in your project's src folder. That provider will be responsible for your repository. It should be something like this:
import { Repository } from "@sensenet/client-core";import { RepositoryContext } from "@sensenet/hooks-react";import { repositoryUrl } from "./configuration";import React from "react";export function AppProviders({ children }) {return <RepositoryProvider>{children}</RepositoryProvider>;}export const RepositoryProvider = ({ children }) => {return (<RepositoryContext.Provider value={new Repository({ repositoryUrl })}>{children}</RepositoryContext.Provider>);};
This provider will wrap your application in src/index.js
ReactDOM.render(<React.StrictMode><AppProviders><App /></AppProviders></React.StrictMode>,document.getElementById("root"));
Working with sensenet
Now you can send requests to the API from your project. For help, see the API docs here.
Open the admin ui here. Log in to your sensenet repository and open content tab from the left side drawer to browse your contents.
In sensenet, everything is content. Documents, tasks, users, projects, even system configuration files – everything – are stored and managed in the content repository. It is the foundation that makes content management easy and powerful at the same time. All content items are organized in a content tree, so you can always operate through subtrees and with inheritance when managing and presenting content.
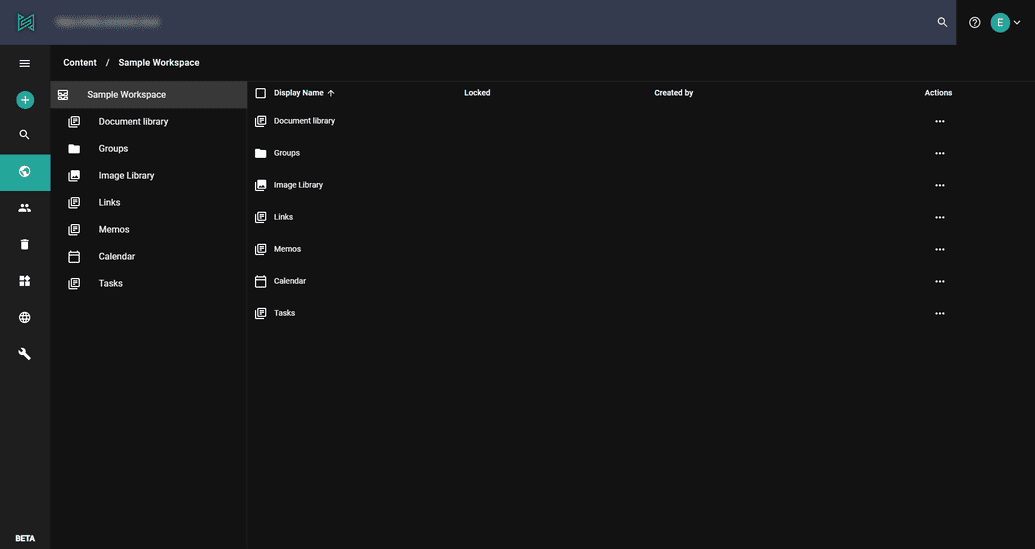
For example if you would like to list the Sample Workspace's children you can reach them trough the repository instance set in the app-provider. Just use the loadCollection function anywhere in your application. In the following example you can see how:
import { useState, useEffect } from "react";import { useRepository } from "@sensenet/hooks-react";export const ExampleComponent = () => {const repo = useRepository();const [data, setData] = useState();useEffect(() => {async function loadChildrenOfSamplews() {const result = await repo.loadCollection({path: `/Root/Content/SampleWorkspace`,oDataOptions: {select: "all",},});setData(result.d.results);}loadChildrenOfSamplews();}, [repo]);return (<>{data?.map((child) => (<div>{child.DisplayName}</div>))}</>);};
The result will be something like the following:
Creating a blog with sensenet
Create content types
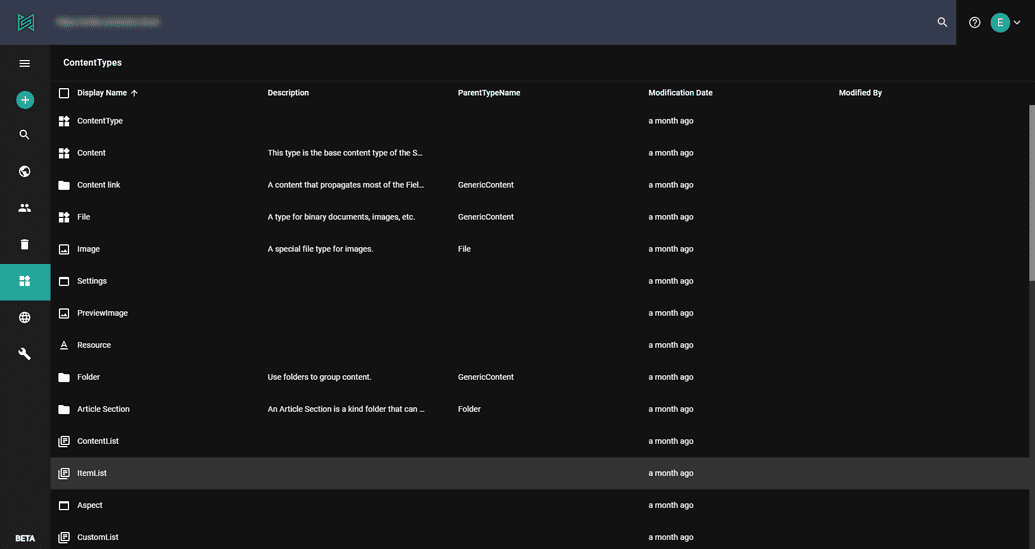
There are a lot of built-in content types in sensenet, but you can also create new types according to your business needs.
For example if you would like to build a blog you should add two new content types to your repository: Blog and Post. Blog will be the container of the posts and it could be an inherited type of the built-in ItemList, which is a common container and has all the needed fields.
You can add the following 2 CTDs (Content Type Definition) by clicking on the + (plus) button and selecting Content Type from the dropdown menu. It opens a new page with an editor. Replace the default text inside the editor to the following code (you can define additional fields as you whish, the following code contains every necessary ones).
<ContentType name="Blog" parentType="ItemList" handler="SenseNet.ContentRepository.ContentList" xmlns="http://schemas.sensenet.com/SenseNet/ContentRepository/ContentTypeDefinition"><DisplayName>Blog</DisplayName><Description>Container of blog posts</Description><Icon>ContentList</Icon><AllowedChildTypes>BlogPost</AllowedChildTypes><Fields></Fields></ContentType>
Post is an inherited type of Article which contains basic fields for common text content metadata, e.g. author, lead, keywords or content body. With the following code we are extending this with the date of publication.
<ContentType name="BlogPost" parentType="Article" handler="SenseNet.ContentRepository.GenericContent" xmlns="http://schemas.sensenet.com/SenseNet/ContentRepository/ContentTypeDefinition"><DisplayName>Blog Post</DisplayName><Icon>Document</Icon><AllowIncrementalNaming>true</AllowIncrementalNaming><Fields><Field name="Date" type="DateTime"><DisplayName>Publish date</DisplayName><Configuration><DateTimeMode>Date</DateTimeMode></Configuration></Field></Fields></ContentType>
These are the basic content types for the blog. Feel free to try adding more fields or modify their configuration, see the field concept docs for the details.
Create a posts
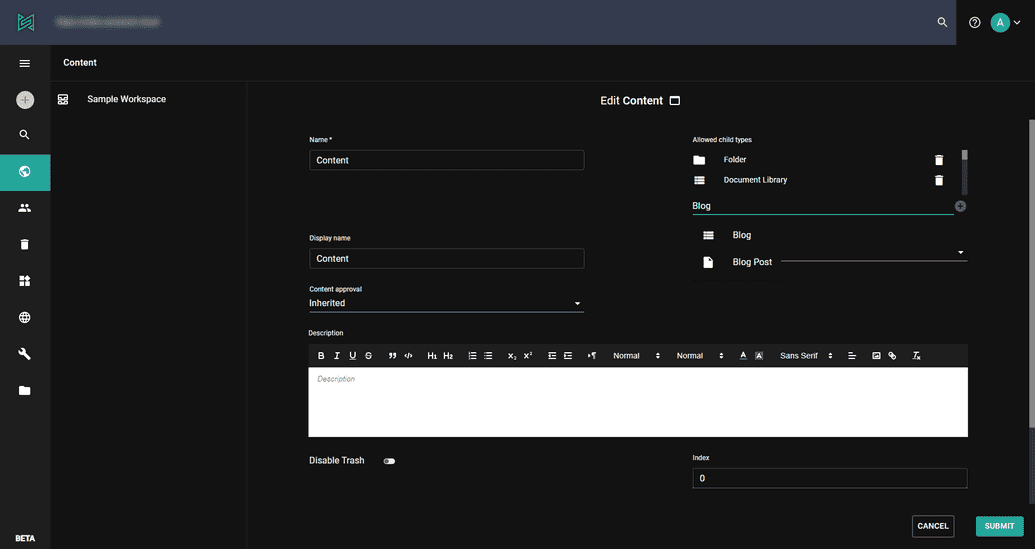
Now we are able to fill our blog with some content. Navigate to the content explorer by clicking on the globe icon on the drawer. First we should add our new Blog type as an allowed child type on the explorer to be able to create a new Blog container content. Right click on the Content item on the breadcrumb and edit it:
Add our Blog type to the allowed child types list, do not forget to click on the + icon beside the input and save the form.
After this the add new list (+) should contain Blog as an option.
Create a new item with the name "MyBlog" by filling the form.
After creating the container you can create blog posts in your newly created blog. Click on the blog item in the tree then on the add (+) button in the drawer, it will contain BlogPost as an option.
Fill the form by giving the name "MyPost" to the new post content.
Visualize your post
useEffect(() => {async function loadMyPost() {const result = await repo.load({idOrPath: "/Root/Content/MyBlog/MyPost",oDataOptions: {select: "all",},});console.log(result.d);setData(result.d);}loadMyPost();}, [repo]);
You can load "MyPost" content from the repository with the load function in the example above. It sets "MyPost" content as state data. You can style your post as you wish, it is up to you now.
Please check this page for more examples and this one for the available APIs.


